Purpose
The Organization Collaboration Setup Wizard helps organization owners and admins turn on the collaboration features their team wants to use. It walks through the main collaboration options one at a time, then lets you choose a starting workflow template before saving.
Use this guide when you need to:
- Finish the initial collaboration setup for a new organization.
- Decide which collaboration features should be enabled.
- Choose a workflow template for the organization.
- Reopen the wizard from Organization Settings.
- Understand what is saved when setup is completed.
- Troubleshoot a setup choice after the wizard closes.
The wizard is a starting point. You can refine feature toggles, workflows, statuses, transitions, approval gates, and automation rules later in Organization Settings.
Who Can Use The Wizard
You need owner or admin access to the organization. Users without organization settings permission can use collaboration features that are enabled for them, but they cannot complete or relaunch the setup wizard.
When The Wizard Appears
The wizard appears automatically when an owner or admin opens an organization that has not completed collaboration setup yet. This usually happens the first time a new organization enters the app.
The wizard does not save changes step by step. Your choices are saved when you select Complete Setup on the final review step. If you cancel before finishing, you can return later and run the wizard again.
Open The Wizard Later
After initial setup, you can open the wizard again from Organization Settings.
- Open the app.
- Select Organization in the left navigation.
- Select Features.
- Select Launch Setup Wizard.
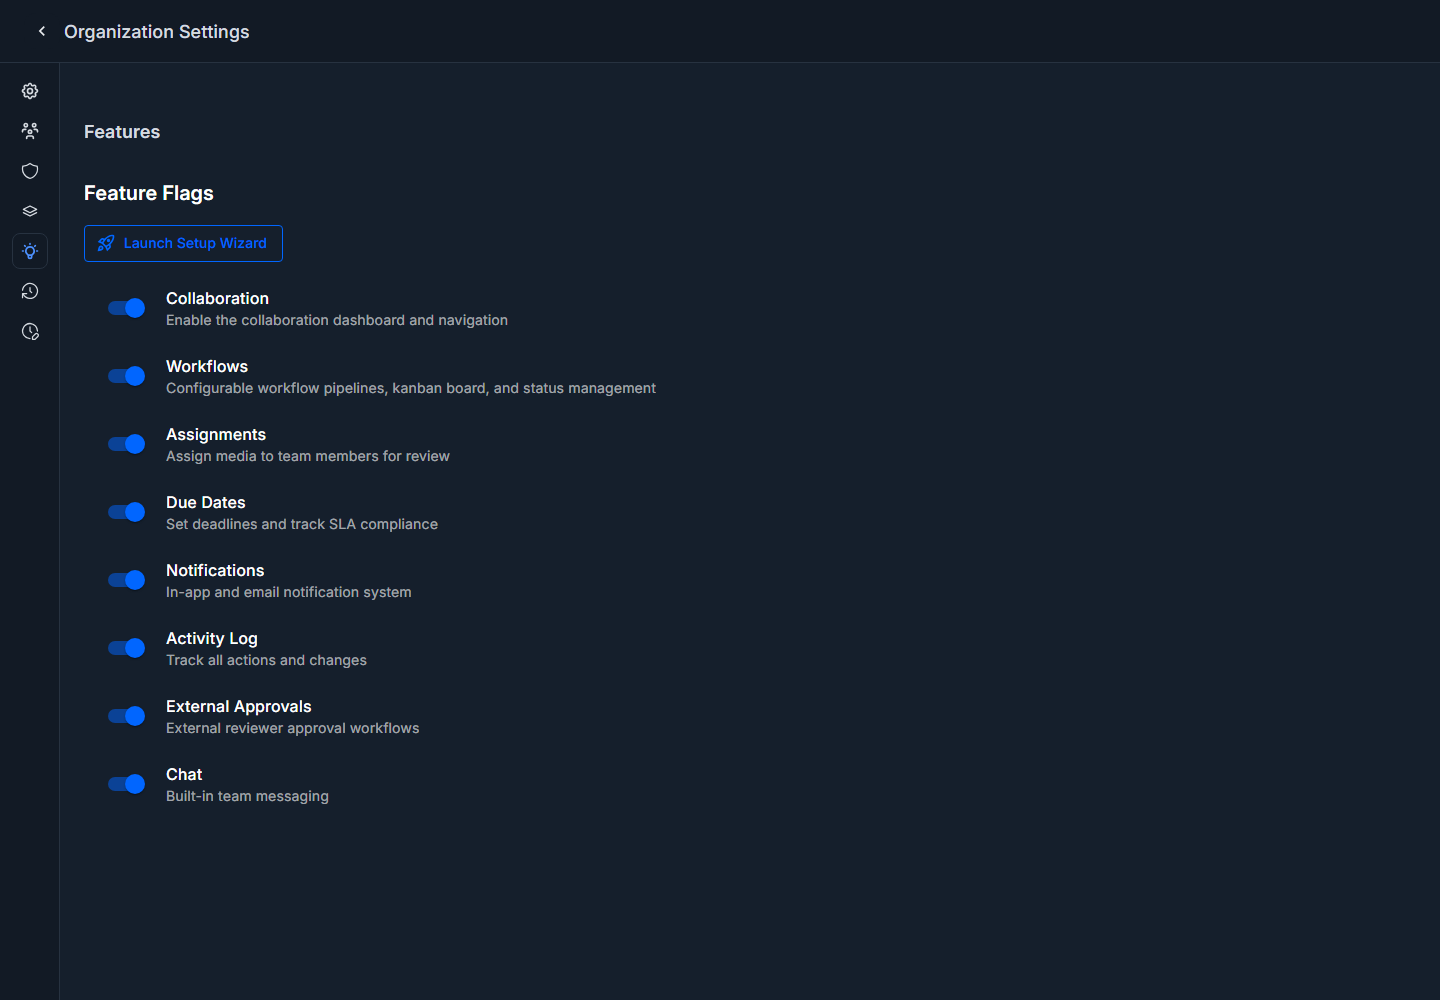
Use the relaunch path when you want to review the full collaboration setup in one guided flow. For quick changes, you can also change feature toggles directly on the Features page.
How The Wizard Is Organized
The wizard has three main areas:
- The left rail lists all 11 setup steps.
- The top progress area shows the current step and percent complete.
- The main panel explains the current decision and shows the available controls.
The footer actions stay consistent:
- Cancel closes the wizard without completing setup.
- Back returns to the previous step.
- Next advances to the next step.
- Complete Setup appears on the final step and saves the selected settings.
You can select any step in the left rail to jump directly to it.
Before You Start
It helps to make these decisions before completing setup:
- Whether the team will use the Collaboration screen as a daily work queue.
- Whether media should move through workflow statuses.
- Whether work should be assigned to named people.
- Whether deadlines and overdue tracking matter for the team.
- Whether approval gates are needed before certain status changes.
- Whether team chat should happen inside Captionator.
- Whether users should receive notifications for work, mentions, and approvals.
- Whether the organization needs an audit trail of activity.
- Which starting workflow template best matches the team's process.
You do not have to get every detail perfect in the wizard. The goal is to choose a good starting configuration.
Step 1: Welcome
The first step introduces the setup process and summarizes what the wizard will configure.
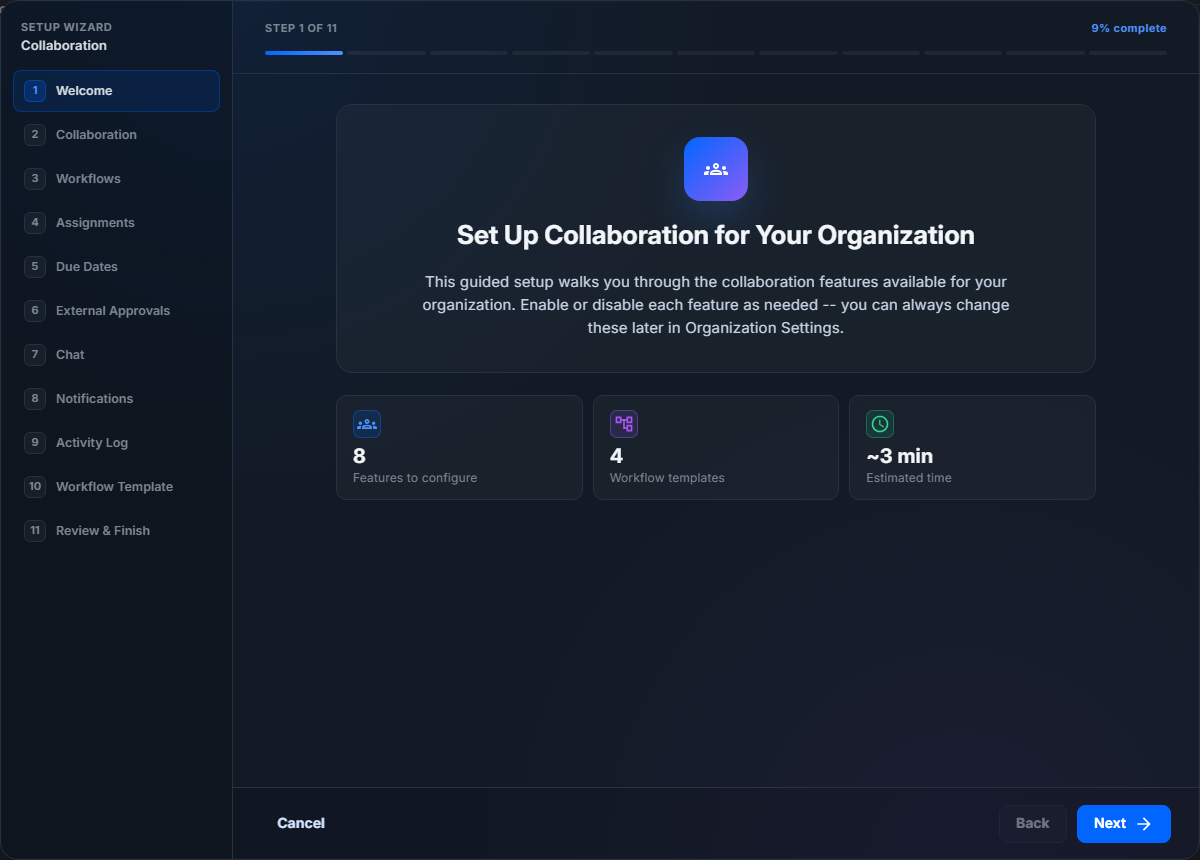
The summary cards show:
- How many feature areas can be configured.
- How many workflow templates are available.
- The estimated setup time.
Select Next to begin reviewing each feature.
Step 2: Collaboration
The Collaboration step controls whether the organization uses the collaboration workspace.
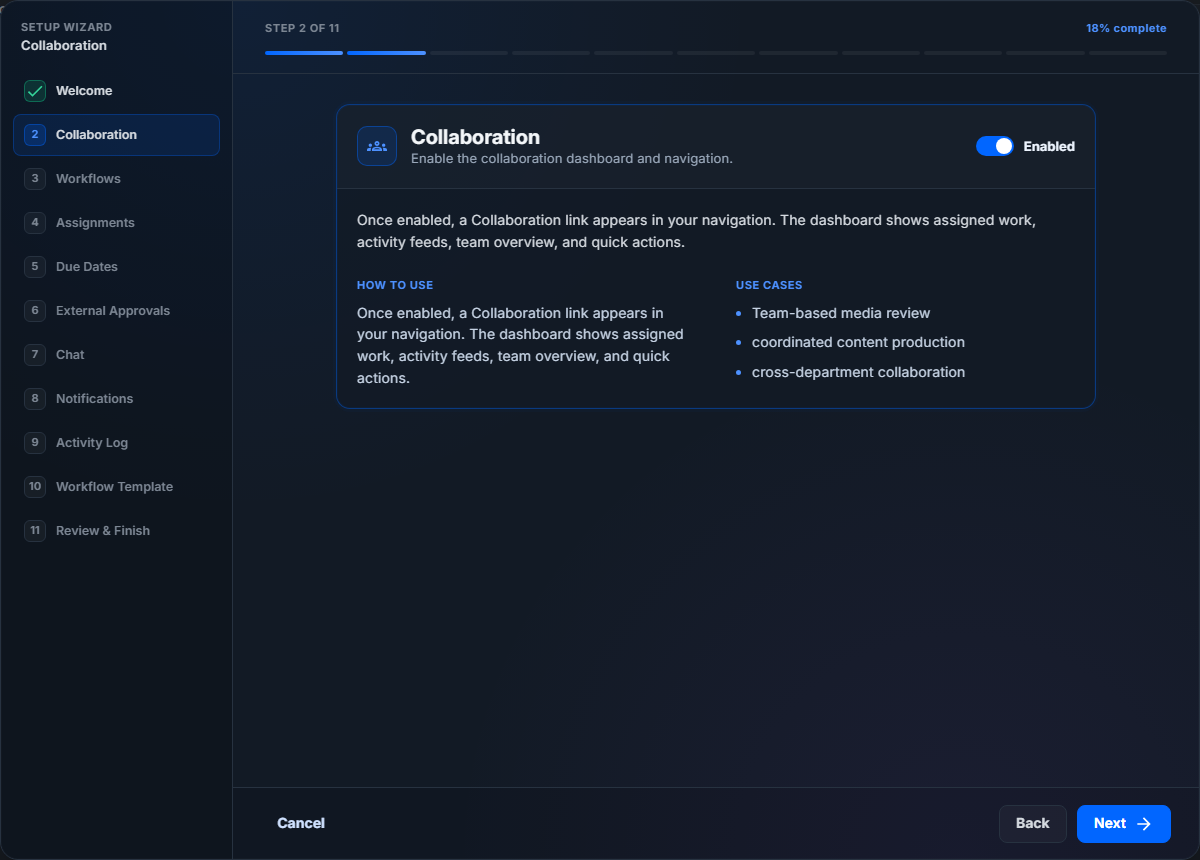
Turn this on when the team should use Captionator to review assigned media, follow activity, check mentions, and coordinate review work.
Leave this off when the organization only needs basic media storage or individual editing features.
Step 3: Workflows
The Workflows step controls status pipelines and Kanban-style workflow tracking.
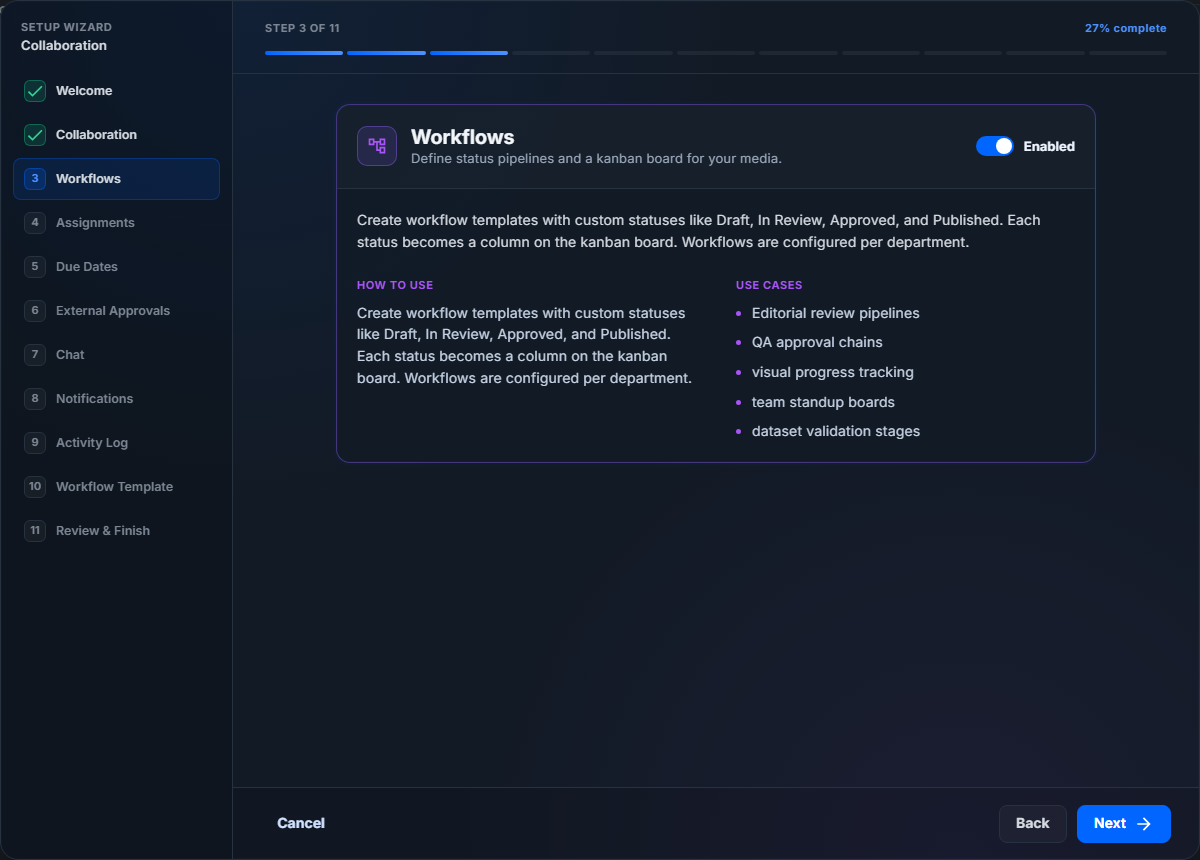
Turn this on when media should move through named stages such as Draft, In Review, Approved, or Published. Each workflow status becomes a lane when a library is viewed as a Kanban board.
Leave this off when the organization does not need status-based process tracking. If Workflows is off, the workflow template step is skipped and no template is applied.
Step 4: Assignments
The Assignments step controls whether media can be assigned to team members.
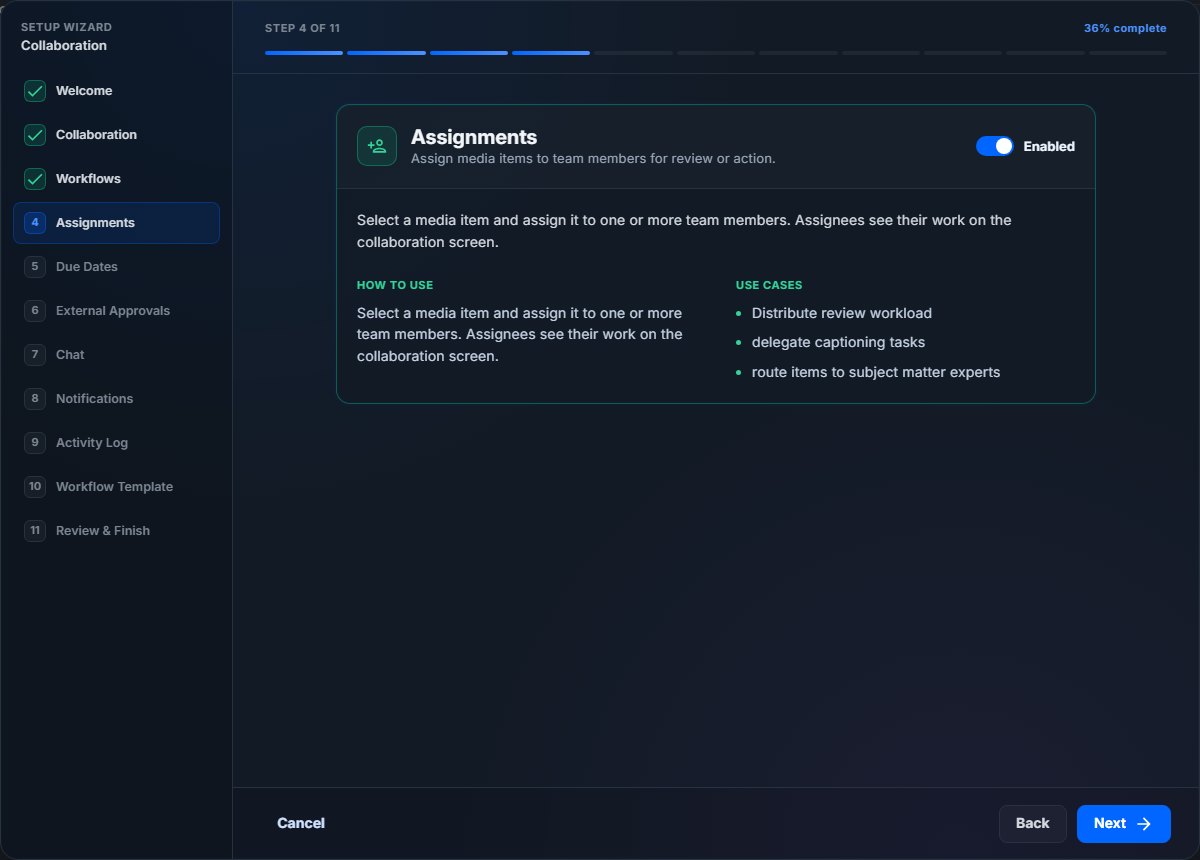
Turn this on when reviewers, designers, editors, or managers need clear ownership of individual media items. Assigned work appears in collaboration work queues and can be used with due dates and notifications.
Leave this off when the team handles review informally or does not assign specific media items to people.
Step 5: Due Dates
The Due Dates step controls deadlines and SLA-style tracking.

Turn this on when the team needs to see due-soon or overdue media. Due dates are especially useful for client delivery windows, campaign launches, production deadlines, and compliance review timing.
Leave this off when media review has no meaningful deadline or when deadline tracking happens in another system.
Step 6: External Approvals
The External Approvals step controls approval requirements on workflow transitions.
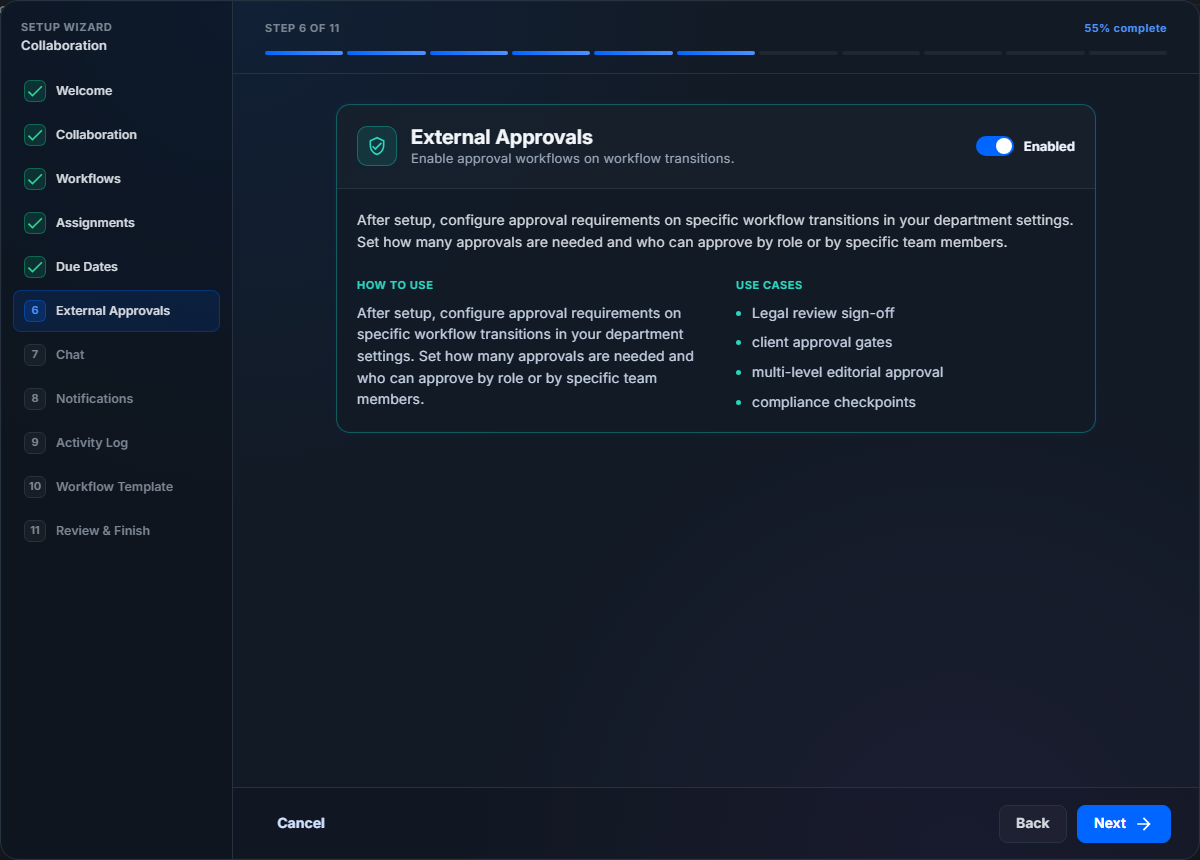
Turn this on when certain moves should require approval before they complete, such as moving from In Review to Published. After setup, approval gates can be configured in workflow settings by transition, required approval count, allowed roles, and specific approvers.
Leave this off when status changes do not need formal approval.
Step 7: Chat
The Chat step controls built-in team messaging.
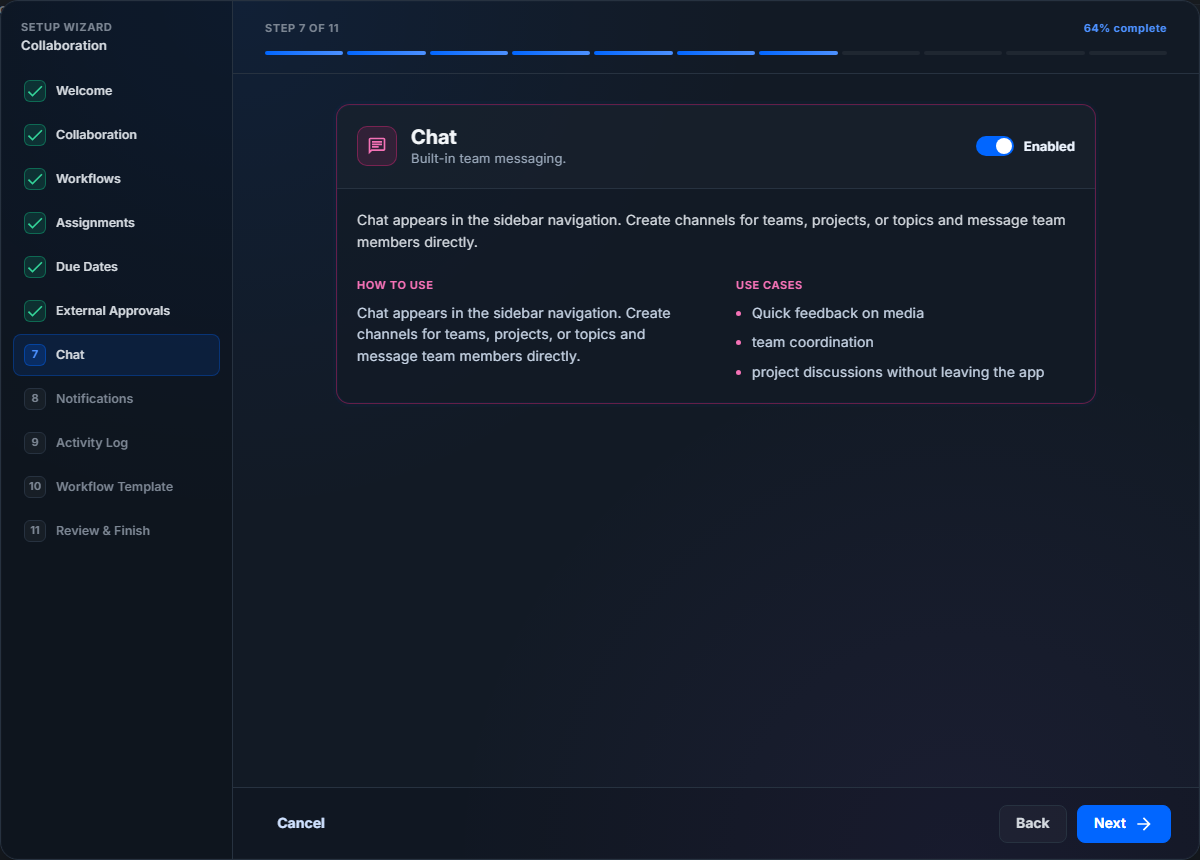
Turn this on when the team should discuss projects, libraries, or review work inside Captionator. Chat can reduce context switching when the conversation is directly related to media review.
Leave this off when the organization will continue using an external messaging tool only.
Step 8: Notifications
The Notifications step controls in-app and email notification behavior.
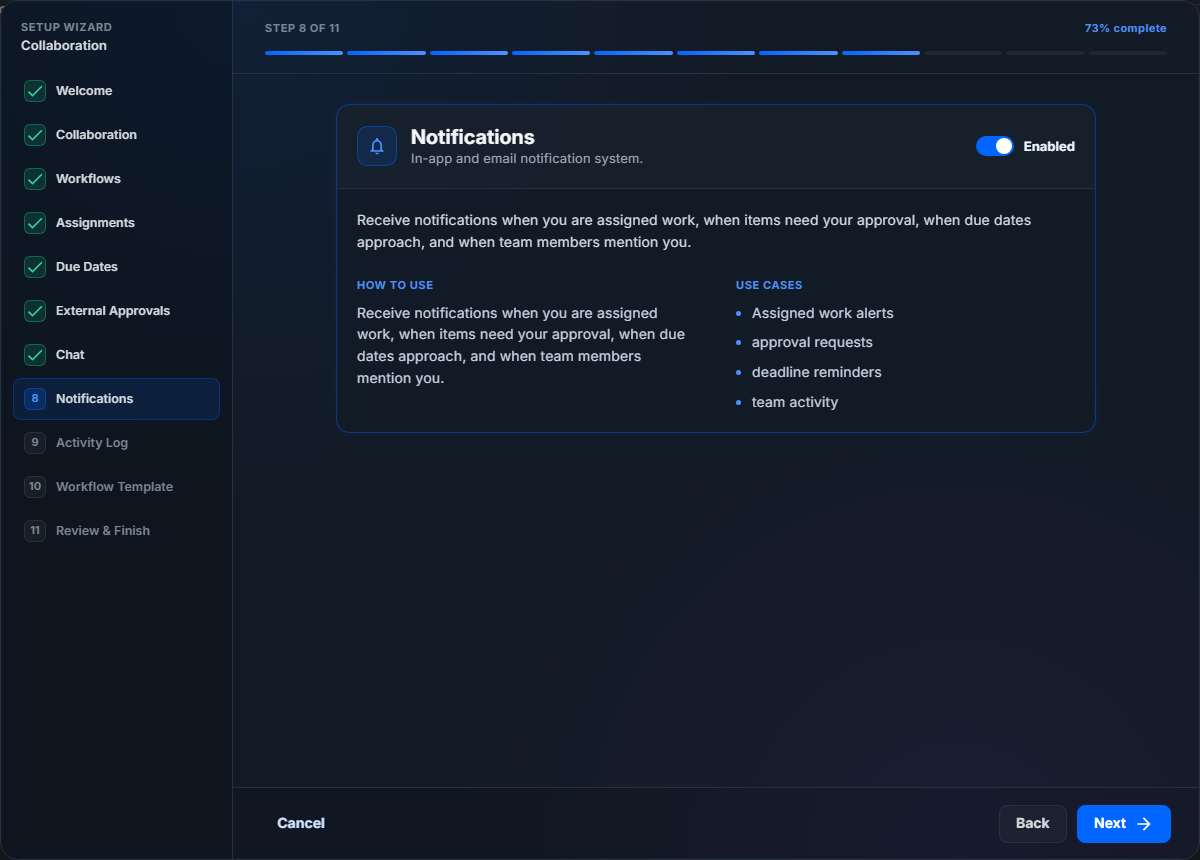
Turn this on when users should be notified about assignments, mentions, approval requests, due-date reminders, and relevant collaboration activity.
Leave this off when the team wants to avoid notification volume during early setup or pilot use.
Step 9: Activity Log
The Activity Log step controls organization activity tracking.
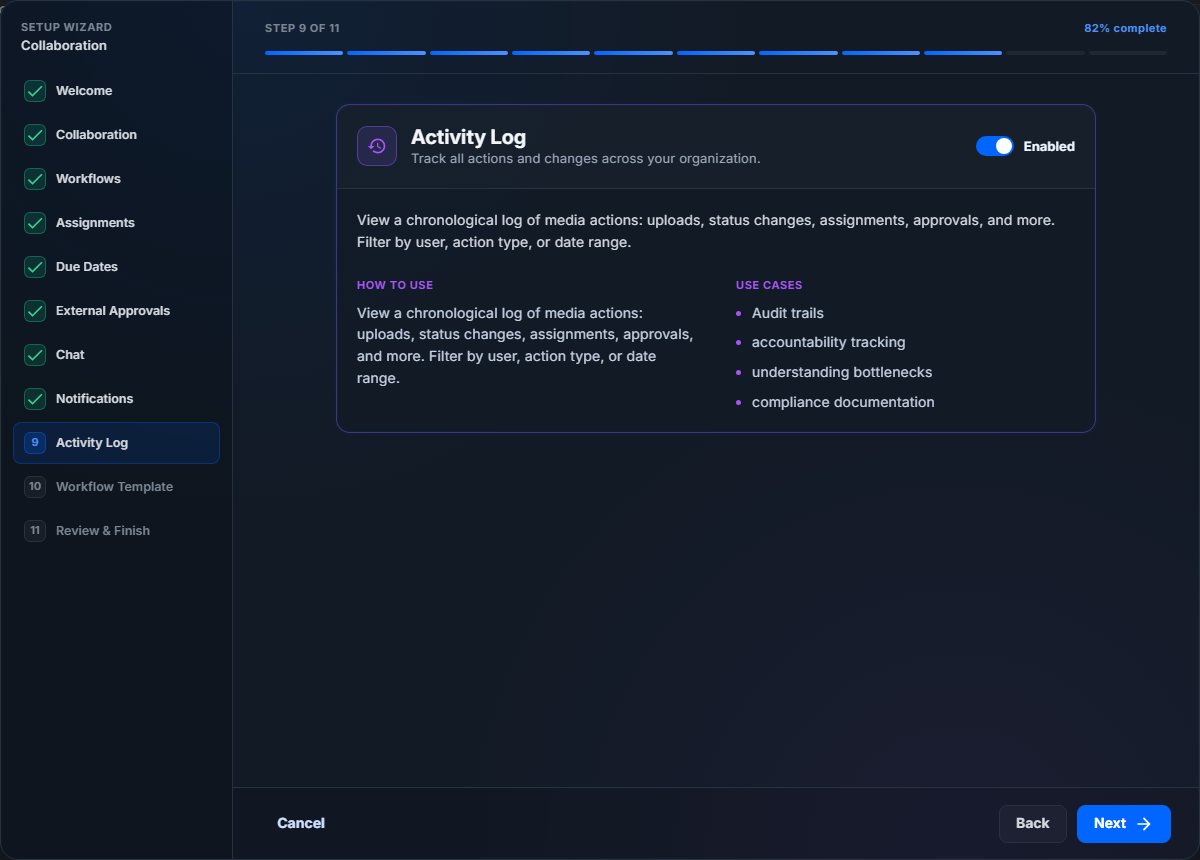
Turn this on when the organization needs an audit trail of uploads, status changes, assignments, approvals, comments, and other collaboration actions.
Leave this off when the organization does not need activity history or wants a lighter setup.
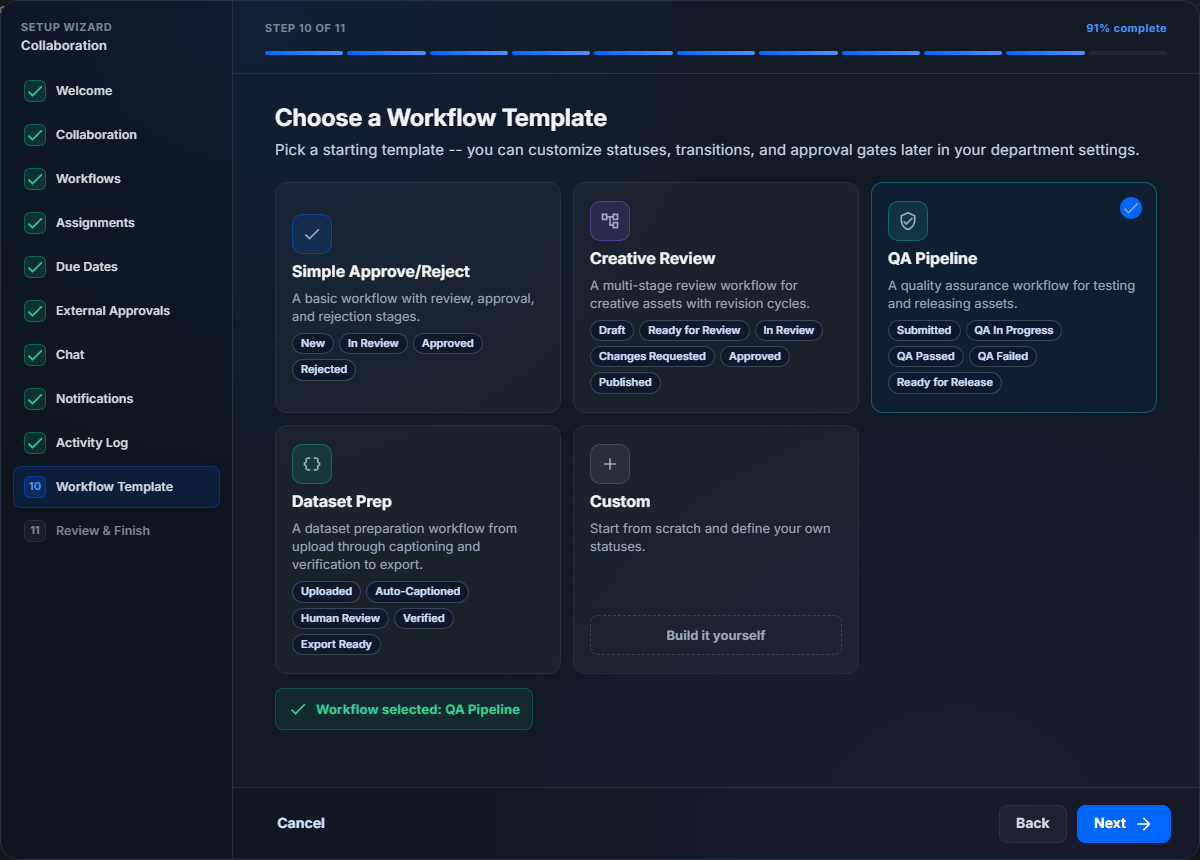
Step 10: Workflow Template
The Workflow Template step appears when Workflows is enabled. Choose the template that most closely matches the process your team wants to start with.
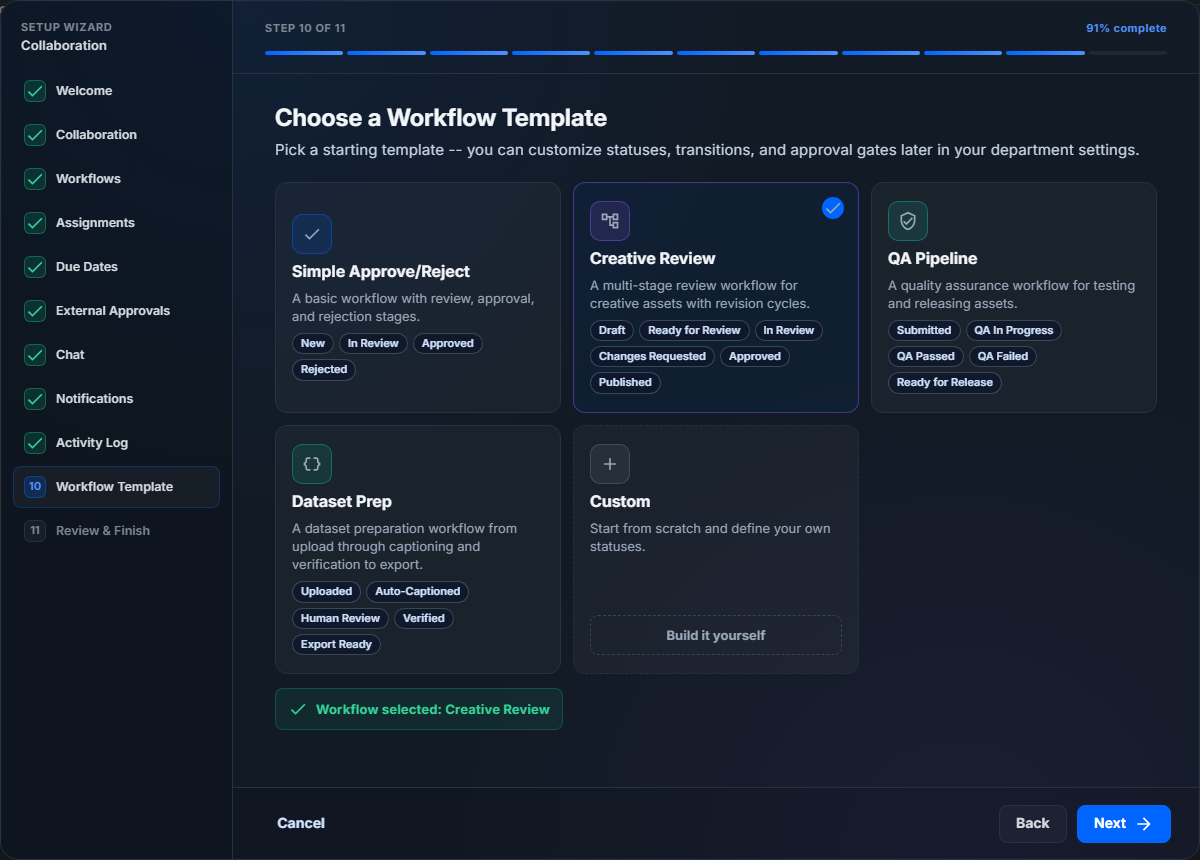
Captionator includes four built-in templates and a custom option. The selected template becomes the starting department workflow when setup is completed.
Choose Custom when none of the built-in templates match your process. Custom opens the workflow editor so you can define your own statuses before returning to the wizard.
Important: if you reopen the wizard later and explicitly select a different workflow template, that template becomes the active workflow shown in Organization Settings > Workflows. Use this intentionally when you want to replace the current starting workflow for the department.
Step 11: Review And Finish
The final step summarizes your feature choices and selected workflow template.
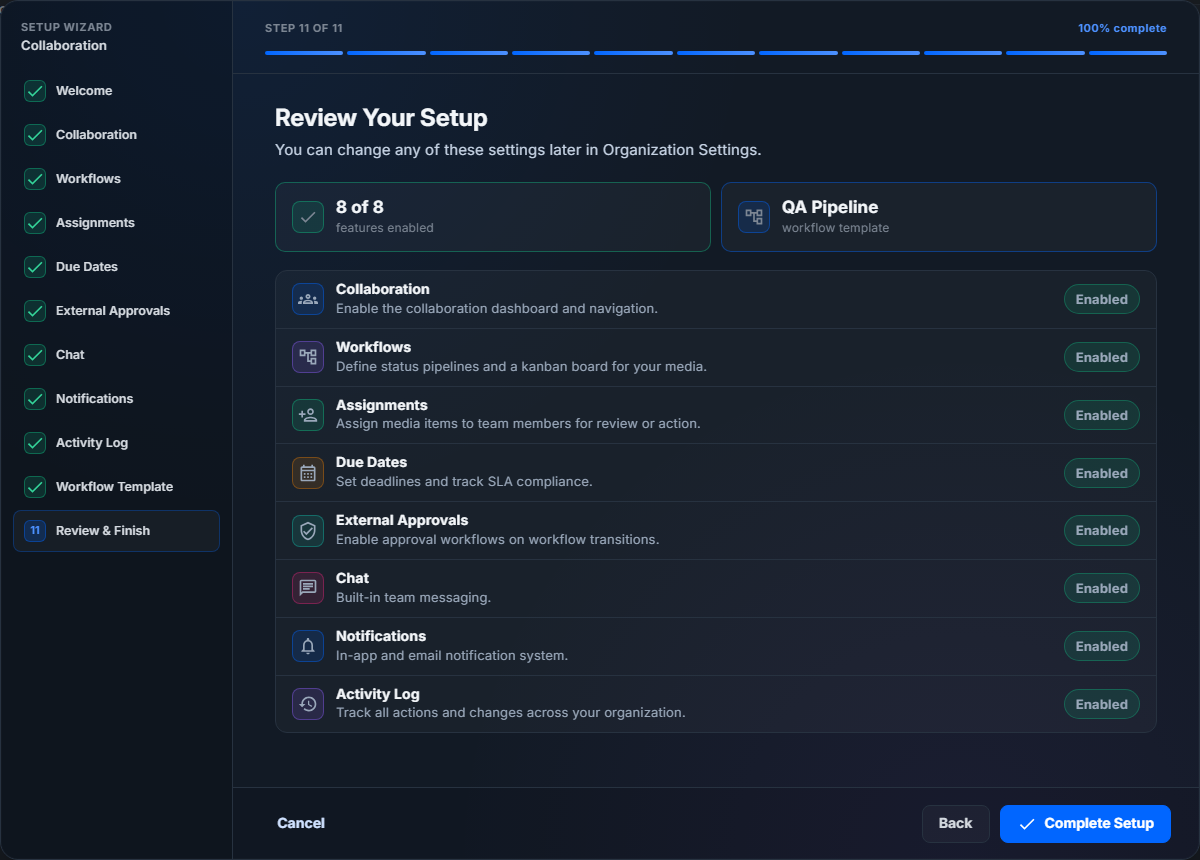
Review each row carefully:
- Enabled features will be available after setup.
- Disabled features can still be enabled later.
- The workflow template shown in the summary is the template that will be applied if Workflows is enabled.
Select Complete Setup to save the configuration. After the wizard closes, you can continue in the app and adjust detailed settings as needed.
Feature Planning Reference
Use this table when deciding which features to turn on during setup.
| Feature | Turn On When | Leave Off When | Where To Adjust Later |
|---|---|---|---|
| Collaboration | Teams need a shared review workspace, assigned work, activity, mentions, and coordination. | The organization only needs basic library storage or individual editing. | Organization Settings > Features |
| Workflows | Media should move through named process stages and Kanban lanes. | Status tracking is not part of the process yet. | Organization Settings > Workflows |
| Assignments | Work ownership should be visible by user. | Review work is not assigned to specific people. | Media editor, Collaboration screen, and Organization Settings > Features |
| Due Dates | Deadlines, overdue states, or SLA windows matter. | Review timing is informal. | Media editor, workflow settings, and Organization Settings > Features |
| External Approvals | Certain workflow moves need approval before completion. | Any authorized user can make the status move directly. | Organization Settings > Workflows > Approval Gates |
| Chat | Review conversations should live with the media workspace. | The team already has a required external chat process. | Organization Settings > Features |
| Notifications | Users need alerts for assignments, mentions, approvals, and due dates. | The team is piloting quietly or wants fewer alerts at first. | Organization Settings > Features and notification preferences |
| Activity Log | The organization needs history, accountability, and audit visibility. | Activity history is not needed for the organization. | Activity screen and Organization Settings > Features |
Workflow Template Reference
Use this table to choose a workflow template.
| Template | Starting Statuses | Best For |
|---|---|---|
| Simple Approve/Reject | New -> In Review -> Approved or Rejected | Small teams that only need a simple review decision. |
| Creative Review | Draft -> Ready for Review -> In Review -> Changes Requested -> Approved -> Published | Creative production with revision loops and final publishing. |
| QA Pipeline | Submitted -> QA In Progress -> QA Passed or QA Failed -> Ready for Release | Quality assurance, testing, and release readiness. |
| Dataset Prep | Uploaded -> Auto-Captioned -> Human Review -> Verified -> Export Ready | Dataset preparation, caption review, and export workflows. |
| Custom | Defined by your organization | Teams with an established process that does not match a built-in template. |
After setup, open Organization Settings > Workflows to rename the workflow, edit statuses, add or remove transitions, configure approval gates, and create automation rules.
After Setup
After you select Complete Setup, Captionator saves the feature choices and marks the organization setup as complete.
If Workflows was enabled and a template was selected, the selected template is created as an active department workflow. You can review it from Organization Settings > Workflows.
Recommended follow-up checks:
- Open Organization Settings > Features and confirm the feature toggles match the setup choices.
- Open Organization Settings > Workflows and confirm the selected workflow is listed.
- Open a library and confirm the enabled collaboration controls are available.
- Review the workflow in the workflow editor before a team uses it for live work.
Changing Setup Later
You can change collaboration setup later in two ways:
- Use Organization Settings > Features for quick feature toggle changes.
- Relaunch the setup wizard when you want to review the entire setup flow again.
If you need to adjust workflow details, open Organization Settings > Workflows. The workflow editor is the right place to change statuses, transition rules, approval gates, and workflow automation.
Common Questions
Are choices saved when I move between steps?
No. Moving between steps only changes the wizard draft. Choices are saved when you select Complete Setup on the final review step.
What happens if I select Cancel?
The wizard closes without completing setup. You can return later from Organization Settings > Features.
What if I leave Workflows disabled?
The workflow template step shows that workflow setup is not enabled, and no workflow template is applied. You can enable Workflows later and create or choose a workflow then.
Can I use the wizard more than once?
Yes. Relaunch the wizard from Organization Settings > Features. This is useful when you want to review the full collaboration configuration again.
What happens if I choose a different workflow template later?
If you reopen the wizard and explicitly select a different workflow template, that selected template becomes the active workflow shown under Organization Settings > Workflows. Review your current workflow before doing this in an organization that already has active review work.
Can I customize the selected workflow?
Yes. After setup, open Organization Settings > Workflows and configure the workflow. You can rename it, change statuses, add transitions, require comments, add approval gates, and define automation rules.
Which template should I choose first?
Choose the closest fit, then refine it later. Creative Review is a good default for creative review teams. Simple Approve/Reject is best when the team only needs a basic decision. QA Pipeline fits testing and release readiness. Dataset Prep fits AI training dataset preparation.
Recommended First Setup
For most collaborative creative teams, start with:
- Collaboration: enabled.
- Workflows: enabled.
- Assignments: enabled.
- Due Dates: enabled if delivery dates matter.
- External Approvals: enabled only if formal sign-off is required.
- Chat: enabled if the team wants in-app project discussion.
- Notifications: enabled for assignments, mentions, and approvals.
- Activity Log: enabled when accountability or audit history matters.
- Workflow Template: Creative Review.
After the team has used the first workflow for a few real items, refine statuses and transitions so the workflow matches the way the team actually works.